Akusoli Insoles Size Chart: How to Pick S/M or L/XL and Trim to Fit
Akusoli insoles size chart in plain terms: the US ranges for S/M and L/XL, how to choose between them, and how to trim the pair to fit your shoe.
- Author
- Strong Health Tips Editorial Team
- Published
- Updated
- Reading time
- 8 min read
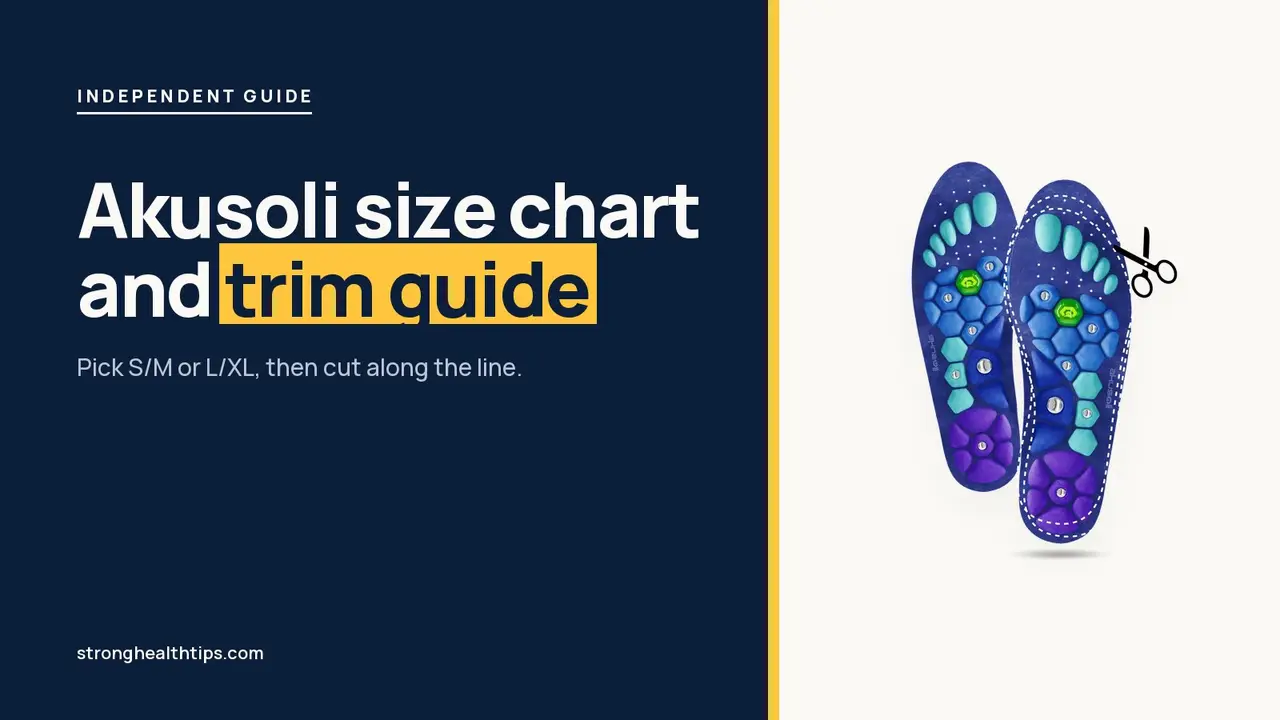
Size is the question to settle before ordering Akusoli insoles, and it is also the place where a small slip costs the most time. Here you will find the two sizes, the US ranges from the order page, and a way to choose when you fall near a boundary. It then covers trimming, the fitting step the company emphasises most, followed by materials and care. The product overview sets the packages next to these notes. Have the size chart open in another tab while you read; you will compare against it before you buy.
Size before you order
Check S/M or L/XL against the US ranges on the order page first.
Afterwards, trim along the dotted line to match the shoe you use most.
Find my size and orderAkusoli insoles sizes: the US ranges
Two bands, S/M and L/XL, are offered, each with a US range for women and for men. Women: S-M runs 5 to 10, and L-XL runs 10.5 to 12.5. Men: S-M runs 5.5 to 9, and L-XL runs 9.5 to 13. This guide relies on those ranges. Take them as a starting point rather than a final verdict, and compare them with the company’s size chart before ordering. The chart presents several tables, so the order page remains the reference used here. Keep the women’s and men’s ranges separate when you read them. Each row is a band of its own, and a figure from one row does not carry over to the other. If you are unsure which row describes you, ask support rather than blending the two.
Reading the brand’s chart without guessing
The seller’s chart spans more than one table, so first identify the table that matches the sizing label you are reading. Jot down three details: your band from the order page, the shoe you intend to use the insoles in, and which insole you will trace. If a table is hard to follow, avoid averaging or converting its figures. Ask support which band to pick and keep the answer with your order. A question of that kind belongs with support, not with a guess made at checkout.
Choosing between S/M and L/XL
Begin with the band that corresponds to your size. Close to a boundary, bear in mind that trimming only removes material, so a pair cut too short cannot be lengthened again. In our view, which is ours rather than the business’s, the larger band is the safer starting point when you are unsure, because cutting down is the step you control. Since a band can always be reduced, work step by step: trace carefully, take material away in small amounts, and check the fit in the shoe after each one. If you remain unsure, ask support before cutting. Write the chosen band beside the shoe it belongs to, so any later question to support starts from accurate facts, and record the reason for your choice as well.
Comparing your current insole with the new pair
Lay your existing insole flat, then set the new Akusoli pair next to it, heels aligned. Check three things: the length from heel to toe, the width across the front of the foot, and where the raised pads will land relative to the spot where you currently feel pressure. This is a visual comparison, so do not convert it into a number in any unit. If the new pair is clearly longer, there is room to trim. If it is shorter, the band you selected may be too small, and support can confirm that before you cut.
Shoe type and where the insole sits
The insole should lie flat in the shoe without folding at the heel or bunching under the toes. Base the fit on the shoe you use most; a cut made for one shoe might not work in another. Marketing for the pair describes everyday use, with the insoles slotted in place of whatever is already in a shoe. When the shoe is snug, trimming counts for more than the band, so trace patiently and keep the first cut modest.
How to trim to fit, step by step
The brand’s help pages lists five steps. Remove the existing insoles from your shoes. Set the Akusoli insoles beside them, heels aligned. Trace the edges of your current insole. Cut along the drawn lines. Insert the trimmed pair. The company also says to cut on the dotted line where needed, and that the whole job takes under a minute. Our advice: remove material gradually, and halt if an edge misses its mark instead of pushing it into the shoe. Clean and dry the insole you are swapping out before you trace it, so the outline comes out clear. Moisture or grime can smear a pencil line and throw the cut off, and an off cut is awkward to correct.
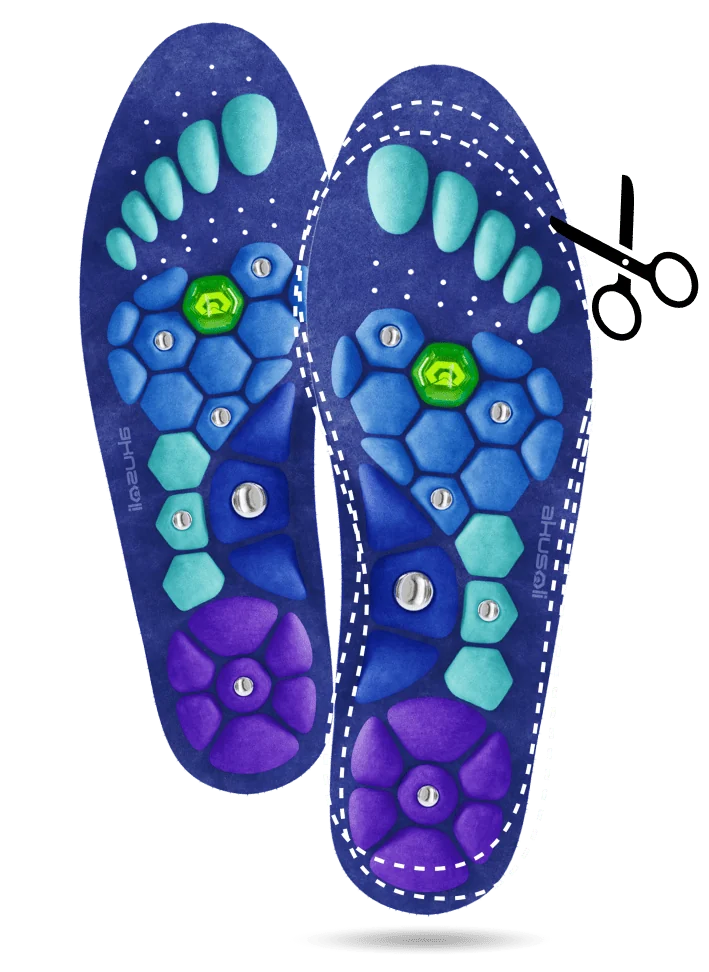
Trim-ready pair
Cut along the line you traced, then insert the pair.
The company puts the trim at under a minute, and the total appears before you finish.
Get the trim-ready pairMaterials, features and care
On top, raised cushion pads sit on a base of EVA, suede-style fabric that also holds small magnets. The company’s page lists a silver-coated underside as a feature; the checkout also shows a silver-ion coating upgrade as an optional extra, so check your cart to see what your pair includes. For cleaning, the help centre recommends gentle washing in mild-temperature water followed by air drying. Avoid a machine dryer and do not wring the insoles. By the company’s account, the pair is made to withstand daily use and its exact lifespan may vary, so this guide gives no figure in months.
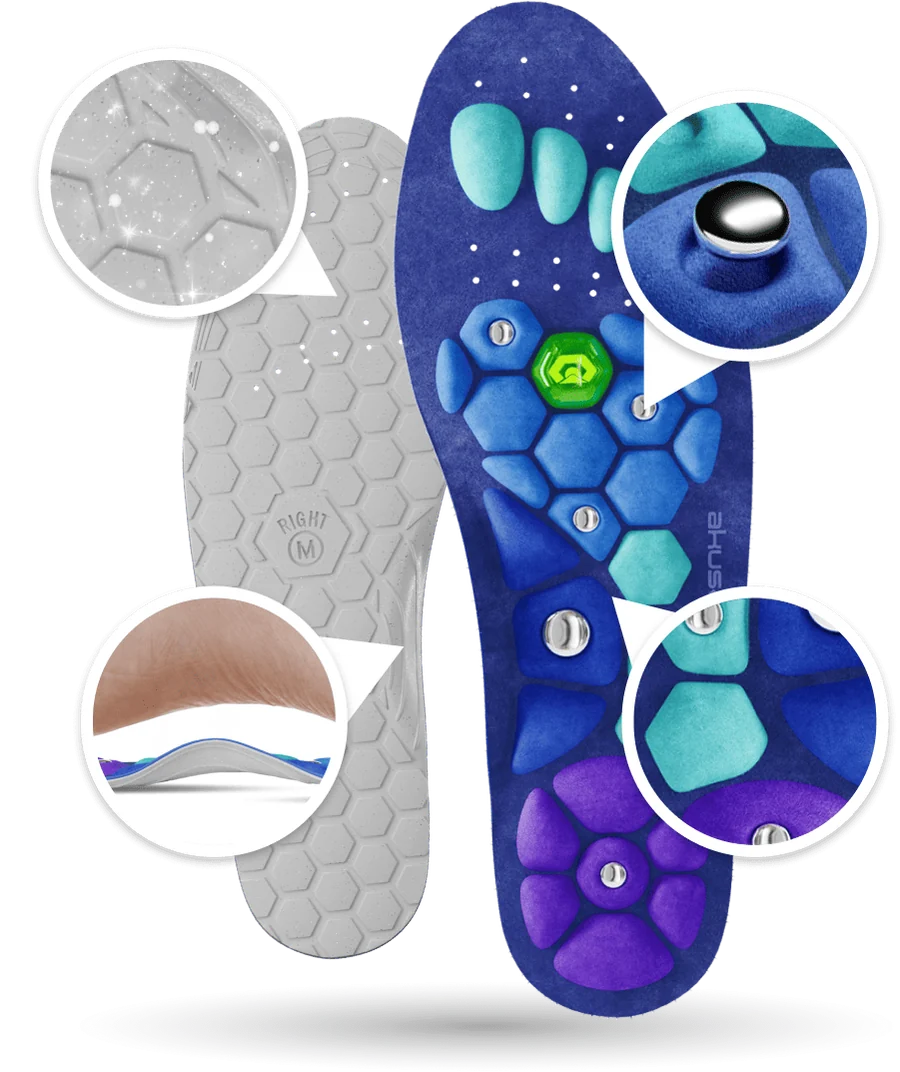
Care and fit
Gentle washing and air drying are the care steps the brand describes.
Pick the band your shoe calls for, and keep the pair clean and dry in between.
Pick S/M or L/XL todayRoomy shoes and snug shoes
A roomy shoe leaves space around the insole, so the main jobs are matching the outline and keeping the edges flat. A snug shoe leaves little margin, which makes the trace more important, because a small error in the wrong place shows up as pressure. In both cases the routine is the same: trace, cut a little, check, and repeat only where needed.
Between two bands
When your size falls between two bands, the decision rests less on the numbers and more on how the insole sits in your own shoe. Start with the band you can trim comfortably to the outline, and write the other band down as the next option to raise with support. Support can tell you whether your particular case points one way or the other, and that answer belongs in your notes next to the order number.
If you are unsure, ask before you cut
Trimming is hard to undo, so when in doubt, ask first. Support can answer questions about band, trim and fit before any cut, and where possible it replies in writing, which keeps the answer on record. You can also check the outline without wearing the pair: lay your current insole on the new pair, trace it, and see whether the outline lands where you want. File the order number with the reply. If the insole still sits poorly after trimming, stop using it, since the pair should not rub or hurt.
Common mistakes when trimming
Four errors keep appearing in fitting advice. Cutting before tracing leaves no reference line to return to. Trimming both insoles at once removes the spare you may need. Cutting into a raised pad because an edge looks off changes the pad’s position, so stop short and reassess. Squeezing a trimmed insole into a snug shoe only adds pressure where the shoe already presses. Avoid all four by tracing slowly and pausing after each small cut.
What to do after you trim
Once trimmed, insert the pair and confirm the edges lie flat without folding. Check how the insole sits against the heel and across the toe box. When it rubs or hurts, stop, look over the trim again and put your question to support before another cut. Keep the offcut until the matter is settled, so you can compare shapes with support if needed. Store the pair flat and dry afterwards, following the care steps above, and file your notes with the confirmation.
Magnets, doctors and sizing
Sizing does not alter the medical questions. A pacemaker, or any other implanted electronic medical device, means a doctor should weigh in before these insoles go in your shoe, because magnets are built in, even if small. Should foot pain carry on once the right band is in use, a podiatrist or physician needs to assess it; a comfort product that fits better will not replace that assessment.
Good to know
Ongoing foot pain is for a podiatrist to look at, and selecting the right band cannot stand in for that visit. Quit wearing the insoles if they rub or hurt, and keep them from children, which the terms require.
Our verdict on picking a size
Start from the US ranges, read the brand’s chart carefully, and choose the band in which you sit most comfortably. Trim slowly, keep your notes, and ask support when the answer is unclear. A pair that fits your shoe is worth the extra minutes at the trace step, because that step is where the fit is set. For more detail, read the materials and features page and visit the Akusoli product page, where the full package grid sits. A sizing error that ends in a return is covered step by step in the returns article, while the side effects guide goes deeper on fit trouble.
Ready to order
Choose the band that fits your shoe.
Choose S/M or L/XL on the order page, then check the closing total before you complete the purchase.
Order the pair that fits my shoesQuestions people ask
What sizes do Akusoli insoles come in?
Two sizes, S/M and L/XL. The seller's order page gives US ranges: women's S-M 5 to 10 and L-XL 10.5 to 12.5; men's S-M 5.5 to 9 and L-XL 9.5 to 13.
Should I check the seller's size chart as well?
Yes. Check the seller's size chart before you order. Use the order page ranges as your reference here, and ask support if a table in the chart is unclear to you.
What if my size sits on the edge of a band?
Ask support, or check the seller's chart. Both sizes trim down, and trimming only makes an insole smaller, so a larger insole can be cut to fit where a smaller one cannot be enlarged.
How do I trim Akusoli insoles?
Take out your current insole, place the new one beside it with the heels aligned, trace around the edges, cut along the lines and insert. Trim along the dotted line if needed.
What are the insoles made of, and how do I clean them?
EVA, suede-style fabric and small magnets, according to the seller's help centre. Wash gently in mild-temperature water and air dry. Do not use a machine dryer, and do not wring the insoles.
Who should ask a doctor first?
Anyone with a pacemaker or another implanted electronic medical device, because the insoles contain small magnets. Foot pain that keeps coming back belongs with a podiatrist or your doctor.
Not medical advice. This guide is general information and does not replace a consultation with a qualified healthcare professional who knows your history. Full disclaimer.
Written by
Strong Health Tips Editorial Team
We research, write and fact-check every guide against current guidance from major health bodies and peer-reviewed studies, then rewrite it in plain English. How we work.